How to Make Reusable Sandwich and Snack Bags
How to Make Reusable Sandwich and Snack Bags
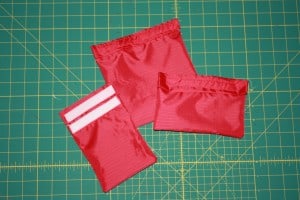
I have always loved the idea of reusable lunch bags. It is such a waste of money to use a plastic bag once and then throw it away. But the cost of the lunch bags was always hard for me to swallow. So I decided to make my own. We found the fabric at our local fabric store. It is ripstop nylon and most fabric stores should have it. This fabric is water resistant and it washes very well and easily. My mom helped me while making the tutorial so I could take pictures. Isn’t she the best??
Here are the easy step by step directions on how to put them together! If you have any questions please be sure to leave them in the comments!
For sandwich bags, cut the fabric 17 1/2 ” Long and 7 1/4 ” wide
For Snack Bags cut the fabric 13 ” long and 6 1/4″ wide
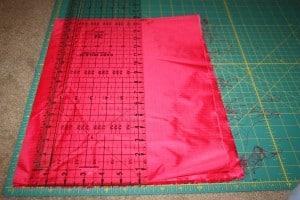
Measure the fabric for either the snack size or the sandwich size
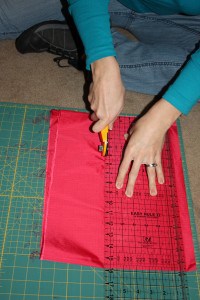
Cut the fabric
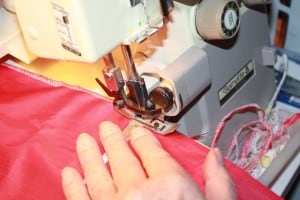
Surge down the short sides of the fabric
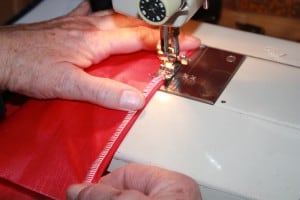
Fold over 1/2″ on short side 1 and sew a straight stitch. Then Fold over 1″ on short side 2 and sew a straight stitch.
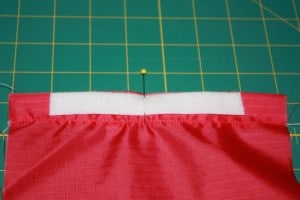
on side 2 ( 1″ side) pin a piece of velcro as long as you would like it to be (that pin is the center of my velcro and my bag)
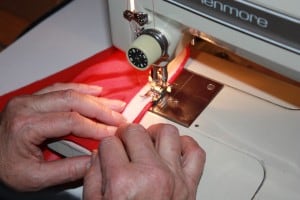
zig zag stitch the velcro into place being sure you sew all 4 sides down the the fabric
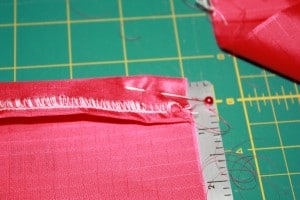
fold side 1 down 1″, right sides together and pin
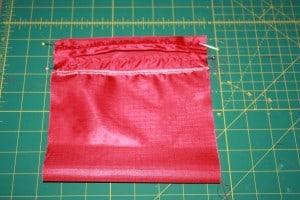
fold up side 2 until it is about 1/4″ away from side 1 and pin (also right sides together)
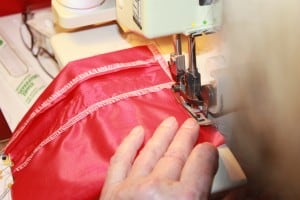
Surge down both sides of bag
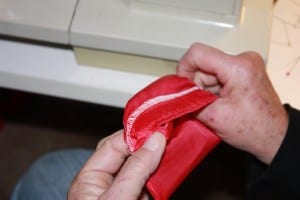
Turn bag right side out
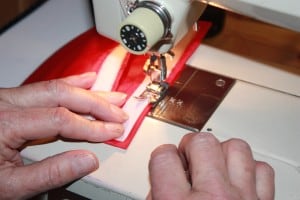
match up opposite side of velcro to bag on side 1 of bag and zig zag stitch around velcro
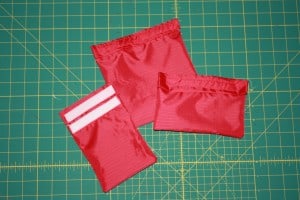
Done!
Hope you find them as easy as I did. Again if you have any questions or comments please leave them in the comments!
Easy Basic Whole Wheat Bread Recipe: Great For Sandwiches




That is such a great idea Melissa. I’ll use the plastic ones a few times but it seems most people think I’m nuts for wasting the time. Sorry but I’d rather waste a few minutes than my money.
I totally agree. We use our reusable ones a lot. They are a great way to save money!