How to Make Homemade Mozzarella Cheese
The following instructions for how to make homemade mozzarella cheese is a guest post from Matt at A Thrifty Mom.
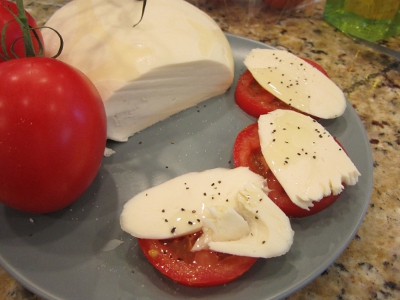
Well it’s Matt. My whole life I have been the type to try and figure things out for my self. I love trying to make things that many think is too hard. Well about 6-8 years ago I was watching a show on making cheese, and I thought – I can do that. So I searched the internet and found a kit to make cheese from home. It is actually pretty easy to make mozzarella cheese. Every now and then I break out the kit I bought 8 years ago and make a pound of cheese for pizza or cheese on tomatoes, or just for fun.
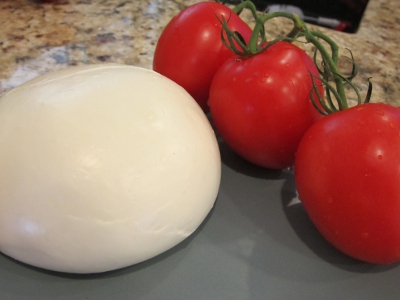
To make one pound of cheese you need one gallon of milk. We had two different milks that were both about half full that I added together. They were close to expiring and I had just bought new milk. So in the pot they went.
Here is how:
You need a cheese making kit. The one I have had I have made about 6 pounds of cheese and I haven’t even used 1/4 of the ingredients. It keeps well in the back of the fridge.
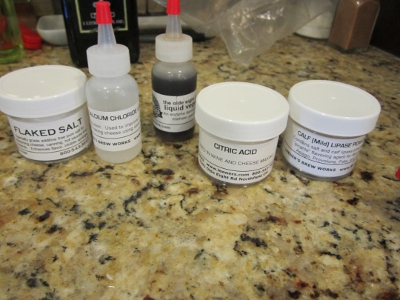
The one I used is from Leeners – $24.95
Leeners Mozzarella and Ricotta Cheese Making Kit
Or this one for $18.50 – I haven’t used this but I’m sure it’s similar.
Roaring Brook Dairy Mozzarella Cheesemaking Kit
Follow the instructions but basically you need:
- pot large enough to hold a gallon of milk,
- One Gallon of milk (whole milk is best – cheese needs high fat content)
- One cheese making kit – Rennet, Calcium Chloride, Citric Acid, Mild Lipase Powder, Flaked salt
- large spoon with holes for draining
- 5 small bowls to have everything pre-measured
- a large microwave safe bowl
- thick rubber gloves (I used 5 pair of latex gloves but the thick rubber kitchen gloves would work too, clean)
- one cooking thermometer
Start by pouring 1 (one) gallon of milk into the pot. Whole milk is best cheese is better with higher fat content. I have even made it from raw milk at Sarah’s parents house, they are dairy farmers. Some risk involved with raw milk.
Slowly warm the milk on low to medium heat. Slower the better, scalded or burnt cheese probably doesn’t taste that good.
While the milk is warming start preparing the additives
In one small bowl add
1/2 tsp of Rennet with 1/4 cup of distilled (I use tap) water
Next bowl :
1 tsp calcium chloride liquid mix with 2 Tbs of distilled (or tap) water
Next Bowl:
Measure 2 tsp of citric acid powder
Next Bowl:
Measure 1/2 tsp of Flaked salt. To be added while stretching the cheese in the last process
Next Bowl :
Measure 1/4 to 1/2 tsp of mild lipase powder. Optional if you are vegetarian.
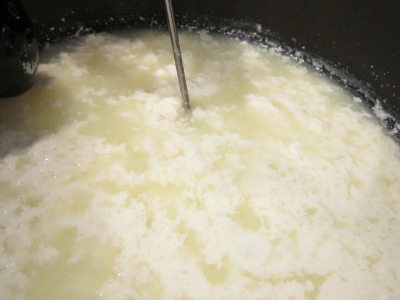
Closely watch the temperature of the warming milk. Add the citric acid while it is warming. Stir the citric acid for 30 seconds. You will begin to see the milk separate and form curds. Continue to stir once every minute or so. Once it reaches 88 degrees F add the calcium chloride mixture and the lipase powder. Stir the mixtures slowly for 30 seconds. Let the mixture continue to warm to 105 degrees F.
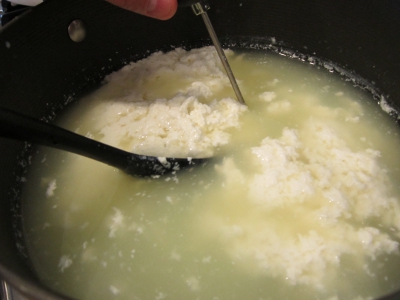
Once 105 degrees F has been reaches cover and turn off the heat. Let the whey and curd mixture sit at 105 F for 15 minutes to allow the curd to fully develop. The curd is the white clumps and the whey is the greenish clear liquid in the pot.
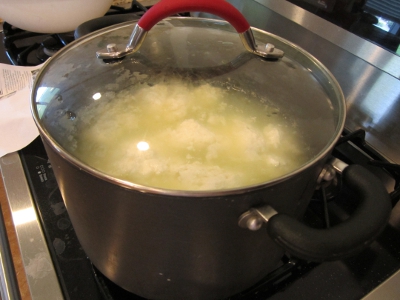
After 15 minutes gently take out the curd with the slotted spoon. Put the curd into your microwave safe bowl. Try and remove as much curd from the whey as you can.
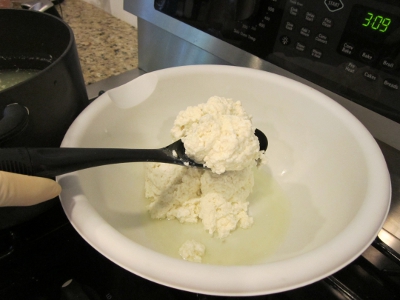
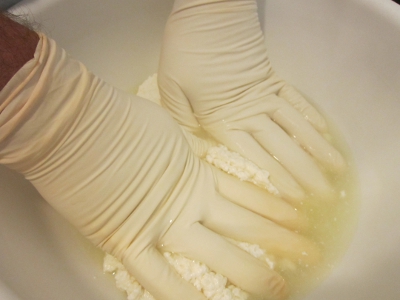
Gently press the curd mixture with your gloves on. Pore the whey back into the pot. Press and pour this step until not much is being squeezed out.
Now place the bowl with the curd mass into the microwave. Heat on High for ONE minute. Remove and press the mass to try and remove any more whey liquid as you can. Repeat this pressing and pouring till no more whey can be removed – about 30 seconds or so.
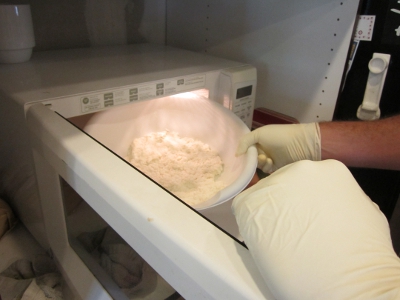
Place back into the microwave for ONE minute again. Remove the cheese and press and pull the cheese similar to making taffy. Add the remaining flake salt while you are pulling and stretching the cheese. The more you pull the firmer and stringing it will become.
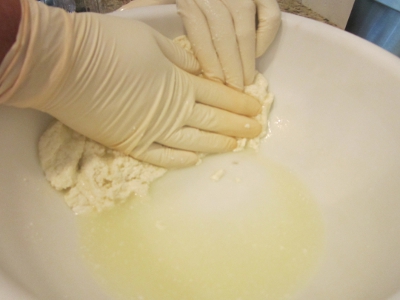
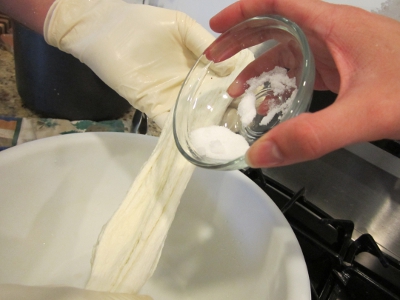
This is where I stopped microwaving it, but for a more firm cheese repeat the microwave step again.
At this point the cheese is very hot and this is where thick gloves comes in handy. I wore 5 latex gloves on each hand and it was still VERY hot. Stretch and pull the cheese just like taffy makers. The more you pull and stretch it the more stringing and firm it becomes. For a softer cheese only pull and stretch for a short time, maybe one or two pulls then form your cheese ball.
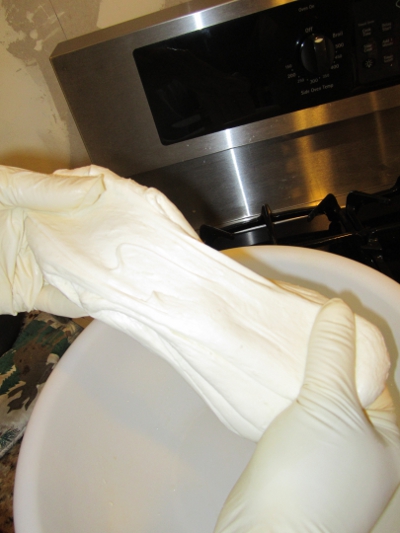
Form the cheese the way you want, place in an air tight container. In the fridge it is good for about one week, and in the freezer for about a month.
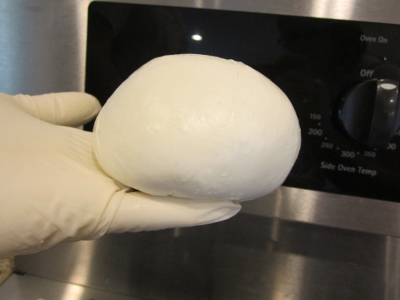
If the cheese is too soft to grate, place in the freezer to firm the cheese for grating. ENJOY!
How do you like your cheese?





looks so yummy!